We spent the day learning about how to reset stones, repair broken stones and how to find the original location of moved stones. And, as only a fellow graveyard rabbit would understand, I had a BLAST!!
First of all the presenters, Walt, Micki, D.B and Bird, are so much fun to learn from. They are passionate about cemetery restoration and eager to share their knowledge so that others can learn how to restore and preserve our cemeteries, and most importantly how to do no harm. I love the quote from Walt "It don't take a rocket scientist to do this, but it does take a heart. And I got one of them."
Walt, who owns, Graveyard Groomer, is what you might call....a character! Here he is below at the start of the morning explaining to the group the agenda for the day.

The first thing we learned was how to reset Stacked Monument/Oblelisks.

This is the stone Walt, D.B and Bird would be resetting. Notice the name SMITH on the bottom? Well, it is facing east. Also the husband's name is facing east and the wife's in on the other side facing west. Walt tells us that this is a sign that this monument has fallen in the past and someone has tried to repair it. How did he know that? Because it is stacked wrong! According to Walt, the name SMITH would have been facing West as people at this time were buried facing west so that when judgment day came they would be facing in the correct direction. If we looked around the cemetery we could see that that was true! Also, the husband's information should be on the left side of the monument and the wife's on the right. This is because the preacher "buried them as he married them". In addition to repairing the loose stone, they would be putting them back in their proper orientation.

The first step is to lift the top stone off. This is done using a tripod and a series of chains and straps all designed to do no damage to the stones.

Once the stone was removed we could see that, indeed, someone had tried to repair the stone in the past. They has used concrete but it had not adhered properly allowing the stone to "walk" off it's base. Most likely this was due to not cleaning or wetting the surface before using the concrete. Step one of repairing this was to remove the concrete and clean the surface. Here is Bird chiseling off the old concrete. It came off easily and quickly.


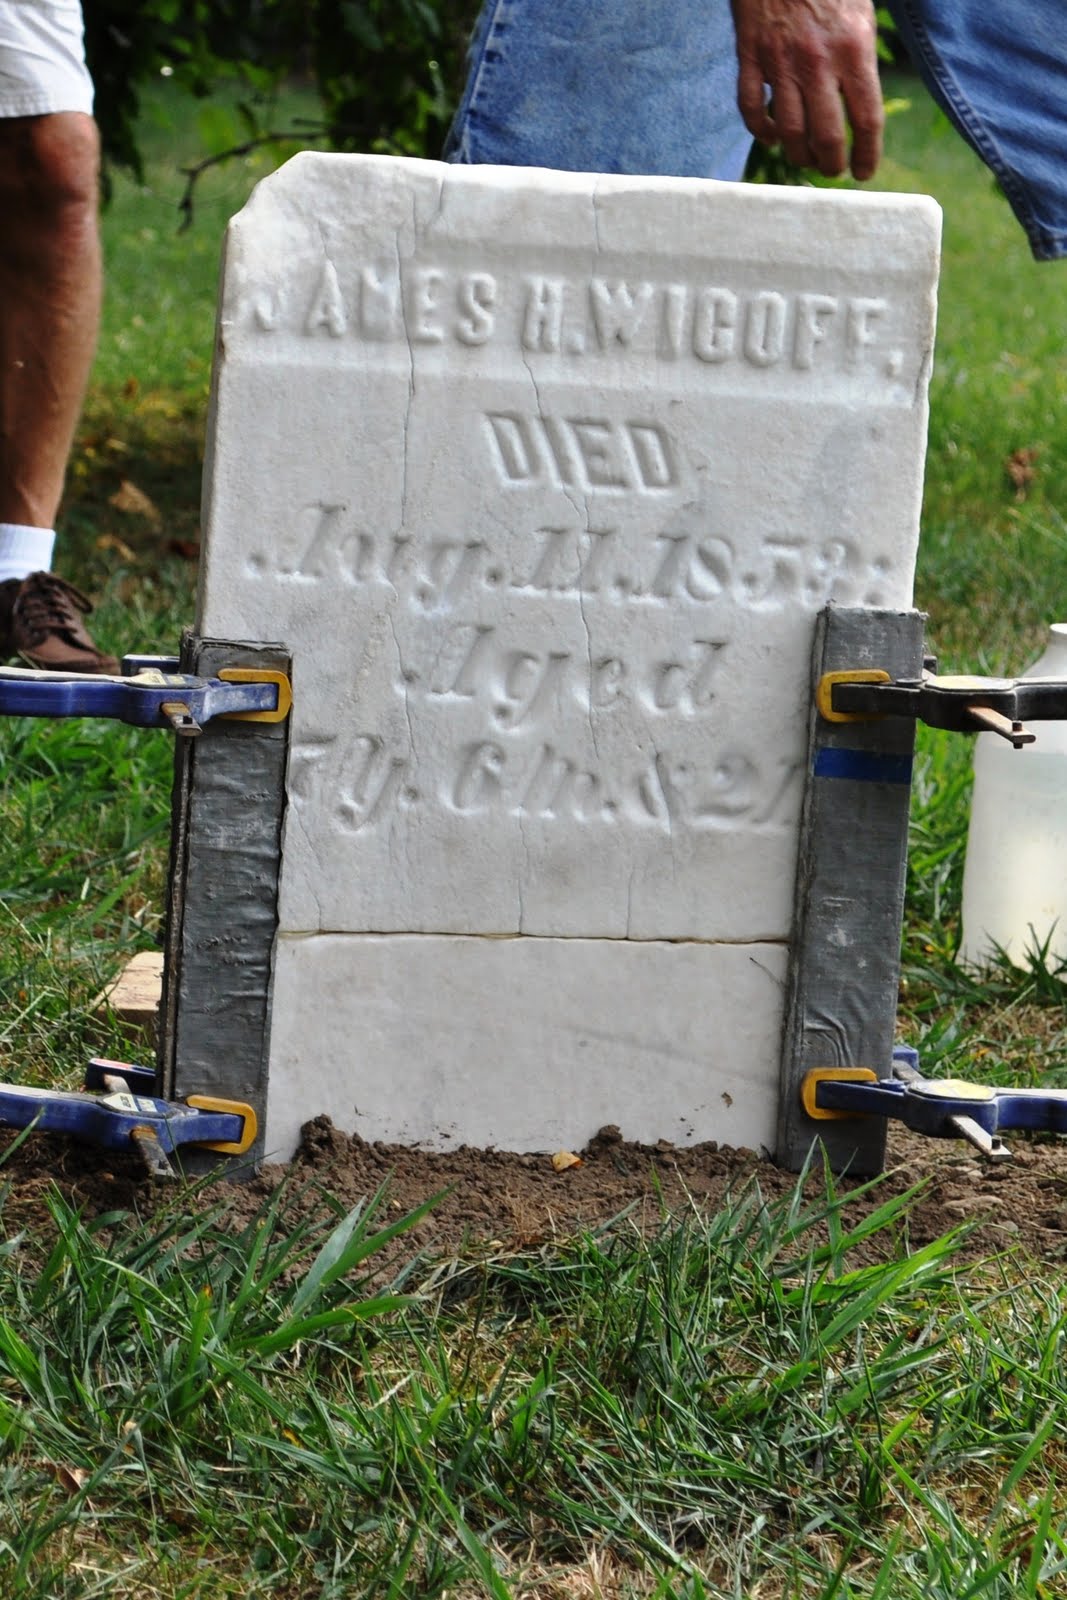
Next we learned how to repair and reset a broken stone. Here is the stone they would be demonstrating with. (It had already been cleaned to save time in the demonstration).

When repairing a broken stone the first step is always to dry fit the pieces first. This is to be sure that you have all the missing pieces. Next you need to clean the surfaces where the breaks are and then epoxy them together. Once the epoxy is dry and the stone reset it needs to be cleaned. Walt recommends a mixture of ammonia and water and a nylon brush. As you can see in the example, the stone cleaned back to a brillant white limestone. It's important to clean the stone before filling in any voids and cracks so that you can match the void mix to the color of the stone.
The last step is to mix your mortar and fill in the voids and cracks. This is where you can really see the great work Walt and his team do. Look at the finished product! You can barely see the crack and the mortar is not even dry yet!

Tomorrows posting, "Wednesday's Child", will focus on the stone myself, my mom and my "cousin" DeeDee repaired with our own hands. It was the stone of a 6 year old boy that was found in 3 pieces buried in the corner of the cemetery. We were able to repair it and reset it back in its original location. What a great feeling that gave us!
Amazing! Simply Amazing! I would LOVE to do something like this but I know my season will come much later in my life (right now I have young children that I home educate). I envision Eagle Scout projects or just something to do in my 'retirement.'
ReplyDeleteThank you for showing all the different steps in the process. I loved the knowledge nuggets that you learned (I buried them as I married them). This was a fascinating read.
Thank you for sharing this process and all the great photos! I agree with D Lee - a fascinating read!
ReplyDelete