After lunch we were all encouraged to get our hands dirty and, under the direction of Walk, Micki, Bird and D.B, we should try our hands at restoring a stone. My mom, "cousin" DeeDee and I chose this stone:


Here is DeeDee cleaning the broken edges of the stone. This process is made easier using a drill with a nylon brush head.


Then we dry fit the pieces together. As you can see, there is a gap where a piece of the stone is missing. However, all the information and writing on the stone is there. We will use aluminum netting and fill in this area with mortar.
Next we applied the epoxy.

And waited for it to set.

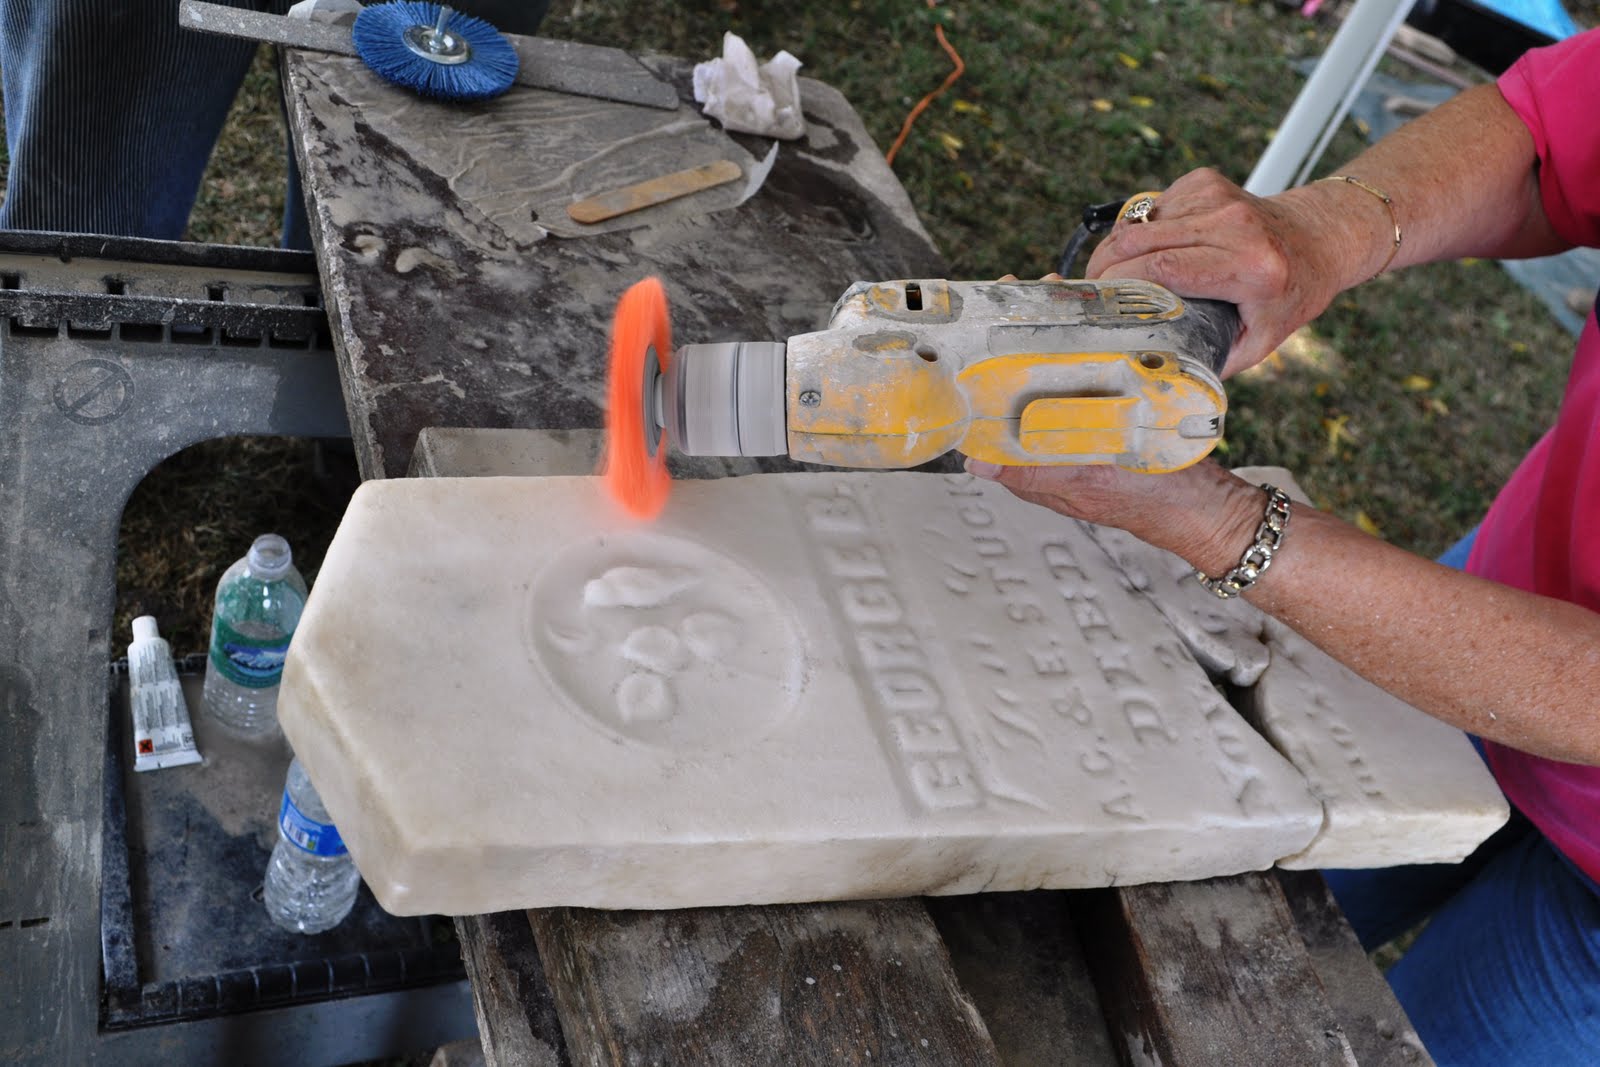
Then the real fun began. Cleaning. We used a combination of ammonia and water and the nylon brush head to clean off the dirt and grime.
Can you believe the difference! It came out so clean!
Next we took the stone back to it's original site and soon discovered why it had broken. Sometime in the past the stone had fallen over and someone had concreted it back into its slot. This is always a no-no! Don't use concrete to set a stone. This does not allow the stone to give if it is knocked over. Instead it will break as George's did. It would take too much time to chisel out all the concrete and reset the stone in its slot we instead we used a mastic.


Here the stone is again. Before and After.
Little George is once again at rest next to his brother John was also died as a child. And I feel great about what we were able to accomplish.
Tomorrow's post is entitled. A Cemetery Hero. Because that's how I see this man. I can't wait to tell this story.........
Fascinating process! I used to refinish a lot of furniture and the concept and accomplishment of taking something beat up and making it beautiful again is so rewarding!
ReplyDeleteFabulous series, Lisa. I'm not a graveyard rabbit in any way, but this is noble work - and, as Linda said, fascinating.
ReplyDeleteThank you for sharing this process. Unbelievable how the cleaning brightened up that stone. Great job!
ReplyDeleteFascinating process you shared with us and the end result is amazing. It looks like it is truly a labor of love and very rewarding.
ReplyDeleteWonderful and so informative. I thought I had already left a comment but don't see it so I will post again. Do you think we should add a spray bottle of ammmonia and water to our cemetery kits? If so, what is the proportion? You did a great job of documenting this.
ReplyDeleteI'm impressed. Never seen this work done. A tip of the hat to all those who did the work, and to you, Lisa for sharing the story.
ReplyDelete